Facing complex automotive repairs in Corby can turn a routine fix into a real challenge, especially with modern vehicles featuring advanced computer systems. Understanding your car’s true condition and gathering specialised diagnostic tools before beginning any work saves both time and guesswork, making it easier to pinpoint faults accurately. Whether you’ve tackled countless DIY jobs or you’re ready to escalate your skills, this guide offers practical steps and professional insights that help ensure safe, reliable results with every repair.
Table of Contents
- Step 1: Assess Vehicle Condition And Gather Tools
- Step 2: Diagnose Issues Using Professional Methods
- Step 3: Replace Faulty Parts With Oem Or Quality Equivalents
- Step 4: Test Repairs For Safety And Performance
- Step 5: Record Service History And Book Future Maintenance
Quick Summary
| Key Insight | Explanation |
|---|---|
| 1. Thoroughly assess your vehicle | Inspect your vehicle for visible problems and gather a list of observed issues to guide repairs. |
| 2. Use professional diagnostic tools | Connect a diagnostic scanner to identify error codes and understand underlying car issues accurately. |
| 3. Choose quality replacement parts | Opt for Original Equipment Manufacturer parts or certified equivalents to ensure reliability and safety. |
| 4. Conduct thorough tests post-repairs | Reconnect the diagnostic scanner and perform physical inspections to confirm repairs are successful before driving. |
| 5. Maintain comprehensive service records | Document all repairs and scheduled maintenance to enhance vehicle longevity and resale value. |
Step 1: Assess Vehicle Condition and Gather Tools
Before diving into any repair work, you need to understand exactly what you’re dealing with. This step involves thoroughly examining your vehicle to identify any issues and assembling all the tools you’ll need to complete the job safely and efficiently. Taking time here prevents frustration later and ensures you have everything at hand when you actually start working.
Start by conducting a visual inspection of your vehicle, both inside and out. Look for obvious signs of wear, fluid leaks beneath the engine, tyre condition, and battery corrosion. Listen to any unusual noises when the engine runs and pay attention to how the vehicle handles. For modern vehicles with sophisticated onboard computers, having diagnostic tools such as code readers and scan tools becomes essential for identifying problems that aren’t immediately visible. These devices read error codes and provide insights into what’s actually wrong, saving you from making incorrect assumptions. Write down everything you notice, as these observations guide your next steps and help any professional mechanic understand what you’ve already investigated.
Once you’ve assessed the condition, gather your tools based on the specific work ahead. You’ll want to build a collection that covers basic tasks, including a comprehensive wrench set covering various sizes, multiple screwdrivers (both Phillips and flathead), adjustable pliers, and a socket set. Include protective gear such as safety glasses, work gloves, and appropriate footwear, as these prevent injury whilst you’re focused on the job. For more complex diagnostics and repairs, essential automotive tools categorised by skill level help you understand what’s genuinely necessary versus what’s nice to have. Having the right equipment beforehand transforms what could be a frustrating afternoon into a straightforward process where every tool is exactly where you need it.
Professional tip Keep a documented inventory of your tools and check it before starting any repair, ensuring nothing essential gets missed and you can work without interruptions.
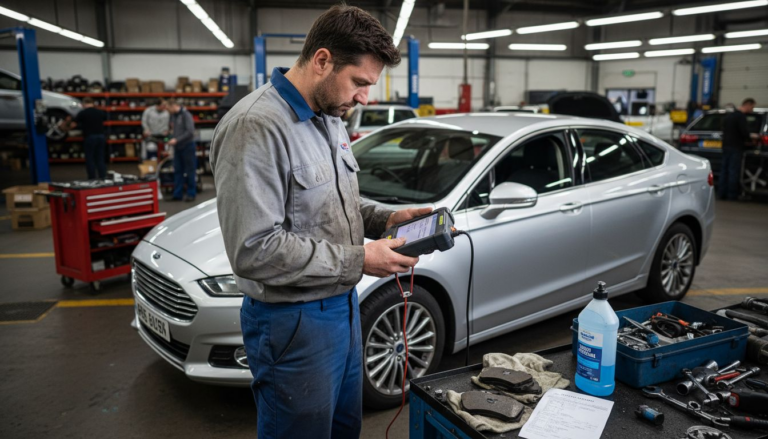
Step 2: Diagnose Issues Using Professional Methods
With your vehicle assessed and tools gathered, you can now move into the diagnostic phase. This step involves systematically identifying what’s actually wrong with your car using methods that professionals employ. Accurate diagnosis prevents wasted time on incorrect repairs and ensures you tackle the real problem rather than treating symptoms.
Begin by connecting your diagnostic scanner to your vehicle’s onboard diagnostic port, typically located beneath the steering wheel. This device communicates with your car’s computer system and retrieves stored error codes that pinpoint specific problems. Read these codes carefully and research what they mean, as they provide concrete clues about failed sensors, emission issues, or engine problems. Beyond electronic diagnostics, perform a methodical physical inspection based on your initial observations. If you noticed fluid leaks, trace them to their source and identify which system is affected. Listen to engine sounds with fresh ears, paying attention to when noises occur. Does the rattle happen only during acceleration or constantly? Does the grinding noise appear when braking or when turning? These details matter because they narrow down possibilities significantly. Document everything you discover, including the exact error codes, fluid colours, and when specific symptoms appear, as this information proves invaluable whether you proceed with repairs yourself or consult a professional.
Modern vehicles require diagnostic equipment that reads complex computer data to understand what’s happening beneath the bonnet. Don’t rely solely on guesswork or assumptions about what might be broken. The investment in proper diagnostics now saves you from replacing components unnecessarily or missing critical issues that could worsen. Once you’ve completed your diagnostic investigation, you’ll have a clear picture of what needs fixing and can decide whether the repair falls within your capability or requires professional expertise. This knowledge transforms the next steps into targeted, efficient work rather than fumbling through trial and error.
Professional tip Write down every error code and take photographs of fluid leaks and component damage, creating a detailed record that guides your repair strategy and helps track improvements as you work through fixes.
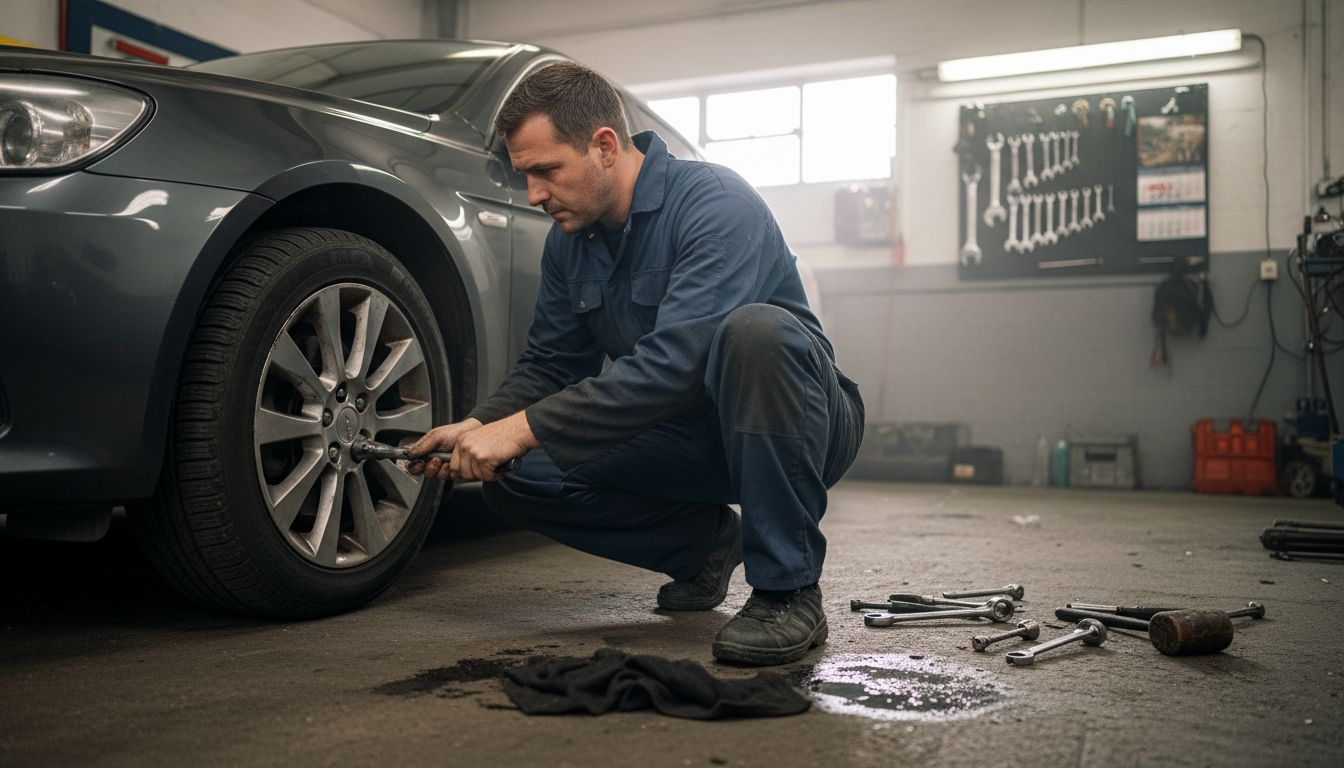
Step 3: Replace Faulty Parts with OEM or Quality Equivalents
Now that you’ve identified what needs fixing, selecting the right replacement parts becomes crucial. This step determines whether your repair will last years or fail prematurely. Using Original Equipment Manufacturer parts or certified quality equivalents ensures your vehicle performs safely and reliably whilst maintaining its integrity.
Start by identifying the exact part number from your vehicle’s documentation or repair manual. This number tells you precisely which component fits your make, model, and year. When ordering replacements, you have two main options. OEM parts come directly from the vehicle manufacturer and guarantee perfect fitment and performance since they meet original factory specifications. Quality aftermarket equivalents cost less but must meet rigorous industry standards and certification requirements to be considered genuinely equivalent. The key difference is that cheap, uncertified parts often fail quickly or fit poorly, creating frustration and additional expense. Check online retailers or contact local suppliers to compare prices, but never sacrifice quality for savings. OEM repair guidelines ensure compliance with manufacturer specifications and help you avoid mismatched components that could compromise safety or void warranties. Before purchasing, verify the part number matches your vehicle exactly and confirm the retailer’s return policy in case the part arrives damaged or proves incorrect.
When installing your replacement parts, consult detailed repair instructions from factory service manuals that provide step-by-step procedures for proper fitment. Take photographs as you remove the old part so you remember how everything connects. Torque specifications matter for bolted components, so use a torque wrench if the manual specifies particular tightness levels. Using quality parts installed correctly transforms your repair into a lasting solution rather than a temporary patch. This investment in proper components pays dividends through years of trouble-free driving.
Here’s a comparison of OEM versus aftermarket vehicle parts, highlighting their impact on repairs:
| Aspect | OEM Parts | Aftermarket Parts |
|---|---|---|
| Fit and Compatibility | Guaranteed exact fit | Varies; may require adjustments |
| Reliability | Meets manufacturer standards | Depends on supplier quality |
| Warranty Protection | Maintains original warranty | Can void warranty in some cases |
| Cost | Typically higher price | More budget-friendly options |
| Longevity | Designed for long-term use | Lifespan depends on certification |
Professional tip Keep all part receipts and documentation together with your repair records, creating proof of quality parts used should warranty issues arise or you need to reference the repair later.
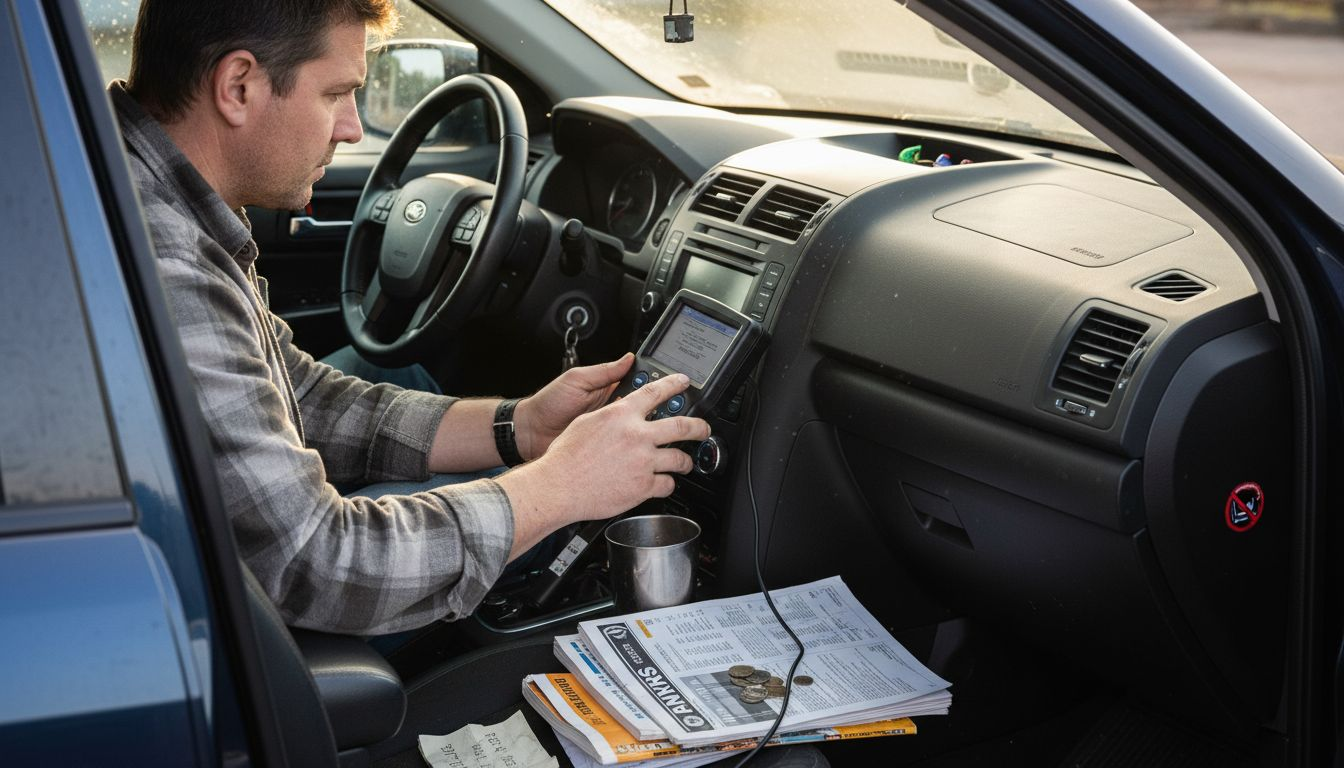
Step 4: Test Repairs for Safety and Performance
Your repair work is complete, but you’re not finished yet. This crucial step verifies that your repairs actually solved the problem and that your vehicle operates safely before returning to normal driving. Skipping this phase risks discovering issues later on the road when it matters most.
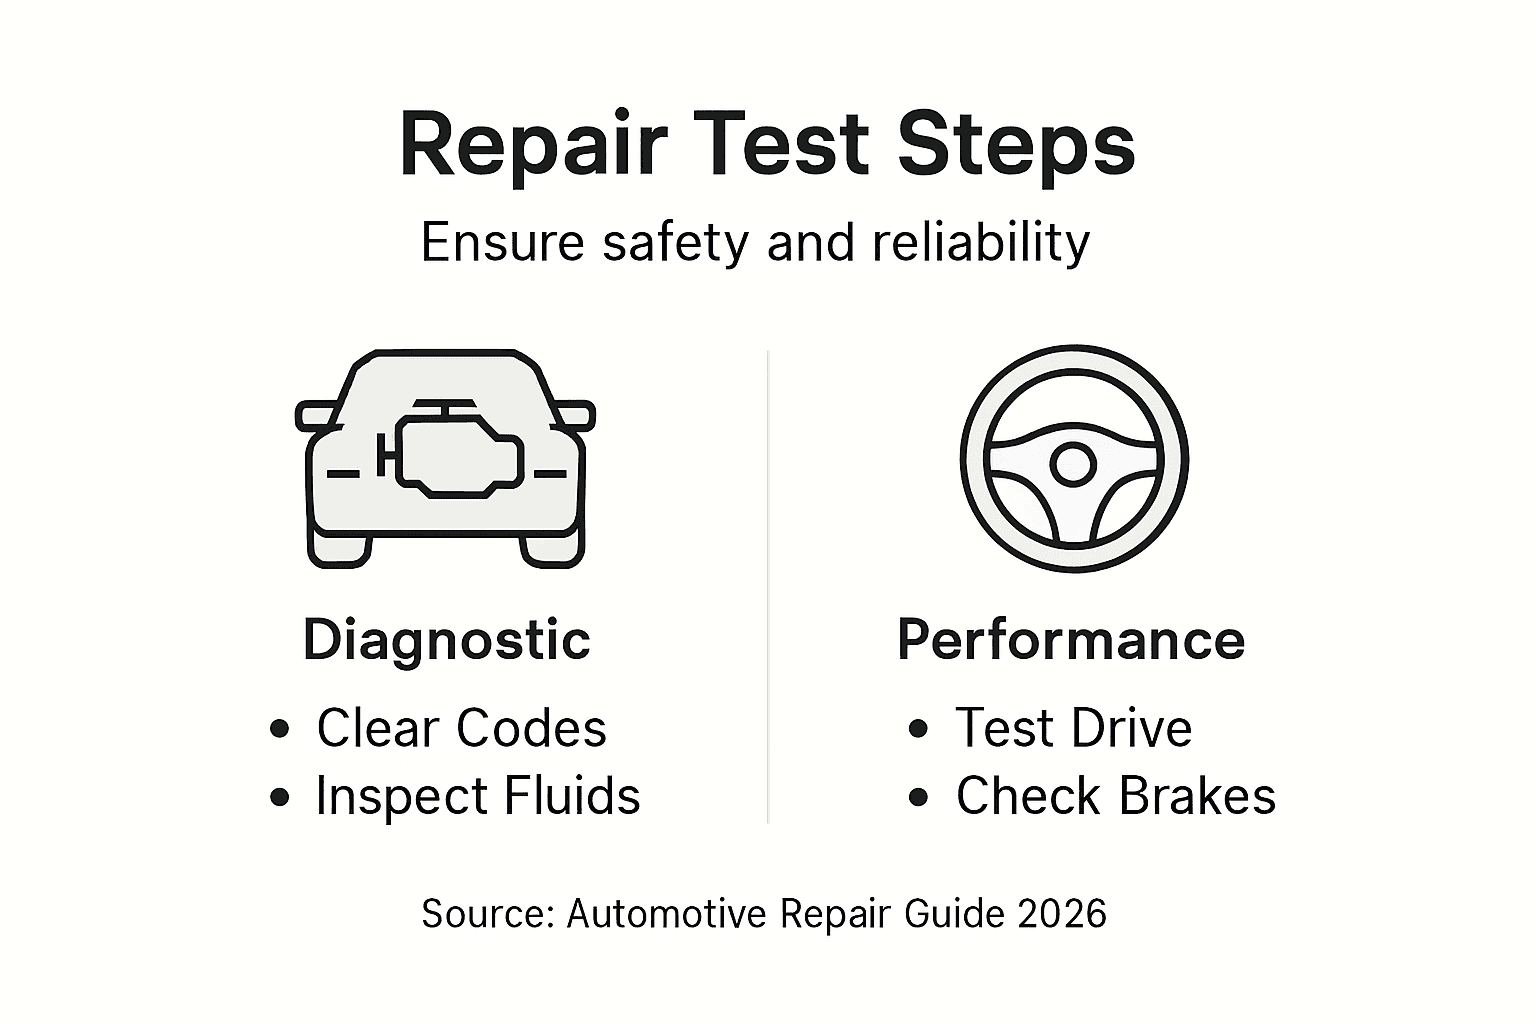
Start by reconnecting your diagnostic scanner to verify that the error codes have cleared. If the same codes reappear or new ones emerge, something wasn’t fixed properly and needs your attention. Beyond electronic verification, perform a thorough physical inspection of your work. Check that all bolts are tight, fluid levels are correct, and no leaks have appeared around the components you replaced. Look for any loose wires or connections that might have been accidentally disturbed during your repair. Then comes the practical test. Start the engine and listen for unusual sounds. Does it run smoothly or does it still exhibit the problems you originally noticed? Let it idle for several minutes and observe any warning lights on the dashboard. Diagnostic verification combined with physical inspections ensures repairs meet manufacturer standards and prevents post-repair failures. Pay close attention to how the vehicle feels and sounds during this initial startup phase.
Once you’re satisfied with the engine’s condition, take the vehicle on a careful test drive. Choose a quiet route where you can focus on the vehicle’s behaviour without distractions. Test the specific system you repaired by driving under conditions that would normally trigger the problem. If you replaced brake components, test braking gently then progressively firmer until you’re confident they work correctly. If you repaired the cooling system, monitor the temperature gauge throughout the drive. Advanced diagnostic tools allow you to monitor system performance in real time during your test drive, giving you confidence that everything functions properly. Return home and allow the vehicle to cool completely, then recheck fluid levels and inspect once more for any leaks that might have appeared during driving. This final confirmation tells you whether your repair succeeded or whether additional work is needed.
Professional tip Keep a logbook of your test results including scanner readouts, performance observations, and test drive conditions, documenting that repairs meet standards and providing valuable reference information if future issues arise.
Step 5: Record Service History and Book Future Maintenance
Now that your repair is complete and tested, documenting everything you’ve done becomes essential for your vehicle’s future. This final step creates a detailed record of your work and establishes a maintenance schedule to prevent similar problems. Proper documentation protects your investment and ensures your vehicle remains reliable for years to come.
Start by recording every detail of your repair work. Write down the exact date, the problem you identified, parts you replaced, labour hours spent, and the final cost. Include the part numbers of components you installed, the diagnostic codes you encountered, and what your test drive revealed. Photograph or photograph the repaired areas and keep these images with your records. This documentation serves multiple purposes. If a problem arises later and you need to prove you performed quality repairs, these records demonstrate your diligence. When selling the vehicle, comprehensive service history significantly increases its resale value because potential buyers know exactly what maintenance has been completed. Detailed service records help track repairs and ensure adherence to maintenance schedules whilst supporting warranty claims should issues emerge. Store these records digitally on your computer and keep physical copies in a folder in your vehicle’s glove box.
With your repair documented, use your records to establish a future maintenance schedule. Refer to your vehicle’s owner manual for manufacturer recommendations about when routine services should occur. Set reminders on your phone or calendar for upcoming oil changes, filter replacements, and seasonal inspections. Recording service history facilitates better diagnostics and informed repairs whenever future work becomes necessary. Consider booking your next scheduled service with a professional mechanic, particularly if that maintenance falls outside your comfort zone or expertise. For vehicle owners in Corby seeking professional support, expert servicing and reliable repairs can handle routine maintenance whilst you manage simpler tasks yourself. Building this proactive maintenance habit prevents emergency breakdowns and keeps your vehicle running smoothly.
Below is a summary of essential vehicle records to maintain for effective future servicing:
| Record Type | Key Details to Include | Benefit for Vehicle Owner |
|---|---|---|
| Repair History | Date, problem, parts, costs | Tracks repairs and future issues |
| Parts Documentation | Part numbers, receipts | Ensures warranty and resale value |
| Diagnostic Log | Error codes, test results | Supports accurate future repairs |
| Maintenance Schedule | Recommended service intervals | Prevents missed routine servicing |
Professional tip Create a digital spreadsheet tracking all service dates, costs, and work performed, allowing you to analyse spending patterns and anticipate future maintenance needs whilst maintaining a comprehensive ownership record.
Take Control of Your Vehicle Repairs with Trusted Experts in Corby
The detailed steps in the “Automotive Repair Guide 2026” show how crucial professional diagnostics, quality parts, and thorough testing are to achieving lasting vehicle repairs. If you have faced challenges like unclear error codes, uncertain part compatibility, or worrying test results then turn to experts who truly understand these complexities. Avgarage specialises in handling everything from complex diagnostics to precision repairs using OEM and high-quality aftermarket parts, helping you avoid costly mistakes and gain peace of mind.

Don’t let uncertainty slow you down because your vehicle deserves expert care backed by experience and transparency. Visit Avgarage now to book your service online, explore trusted vehicle maintenance and repairs, and take advantage of professional support tailored to your car’s needs. Act today to ensure safety, performance, and the long-term health of your vehicle.
Frequently Asked Questions
How do I assess my vehicle’s condition before attempting repairs?
To assess your vehicle’s condition, conduct a thorough visual inspection looking for signs of wear, fluid leaks, and battery corrosion. Listen for any unusual engine noises and take note of how the vehicle handles; these observations will guide your next steps.
What diagnostic methods should I use to identify car problems?
Connect a diagnostic scanner to your vehicle’s onboard diagnostic port to retrieve error codes that indicate specific issues. Accompany this with a physical inspection, detailing any fluid leaks or unusual sounds to establish a comprehensive understanding of the vehicle’s problem.
What types of parts should I use for replacements during car repairs?
It’s crucial to use Original Equipment Manufacturer (OEM) parts or certified quality equivalents to ensure proper fit and reliability. Identify the exact part number and verify it matches your vehicle’s specifications before purchasing to avoid issues later on.
How can I test my repairs to ensure they were successful?
After completing your repairs, reconnect your diagnostic scanner to check for error codes and perform a physical inspection for any leaks or loose connections. Take the vehicle on a test drive, monitoring its performance and ensuring it operates smoothly without recurring issues.
Why is it important to record service history after repairs?
Recording service history establishes a detailed record of your repairs and helps track future maintenance schedules. This documentation not only supports future diagnostic needs but also enhances your vehicle’s resale value by proving meticulous care by previous owners.
What should I include in my vehicle maintenance schedule?
Your vehicle maintenance schedule should include routine service intervals for oil changes, filter replacements, and seasonal inspections based on manufacturer recommendations. Set reminders for these tasks at least 30 days in advance to ensure you do not miss any important maintenance.