Changing gearbox oil can often feel intimidating, especially for drivers across Corby who take pride in maintaining their own cars. A well-executed gearbox oil change process keeps your transmission running reliably, avoids costly breakdowns and reflects smart vehicle ownership. By following a structured approach and using the right tools, you can achieve a professional result and enjoy the confidence that comes with proper preparation and safe maintenance.
Table of Contents
- Step 1: Prepare The Vehicle And Gather Required Tools
- Step 2: Drain Existing Gearbox Oil Safely
- Step 3: Replace The Gearbox Oil Filter If Applicable
- Step 4: Refill Gearbox With Correct Oil Type
- Step 5: Inspect For Leaks And Test Gearbox Operation
Quick Summary
| Key Point | Explanation |
|---|---|
| 1. Gather the right tools | A successful oil change requires specific tools like socket wrenches, a drain pan, and safety equipment. Organise them beforehand for efficiency. |
| 2. Drain oil safely | Cool the gearbox, engage the parking brake, and use a drain pan to collect old oil. Inspect the drain plug for damages to prevent leaks. |
| 3. Replace the oil filter if needed | Some gearboxes require filter changes. Always consult the manual for specifications and ensure cleanliness during installation. |
| 4. Use the correct oil type | Verify the manufacturer’s specification for oil type, viscosity, and classification. Using incorrect oil can cause major damage. |
| 5. Inspect for leaks post-change | After refilling, check for leaks and test the gearbox operation to ensure everything functions smoothly and efficiently. |
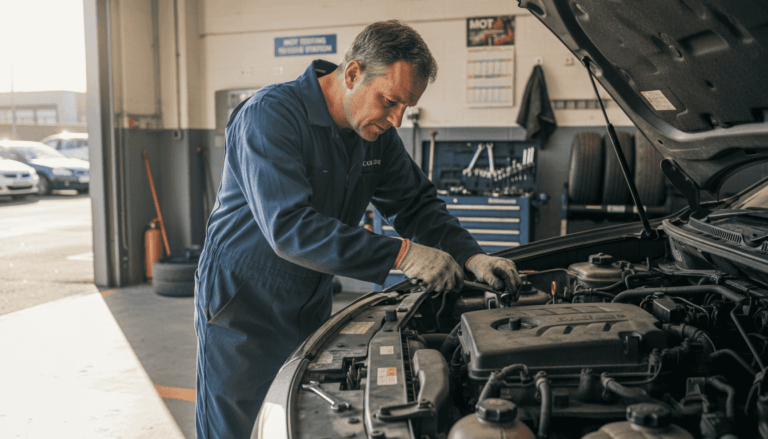
Step 1: Prepare the vehicle and gather required tools
A successful gearbox oil change starts with thorough preparation and having the right equipment at hand. By methodically gathering tools and setting up your workspace, you’ll ensure a smooth, efficient maintenance process that protects your vehicle’s transmission system.
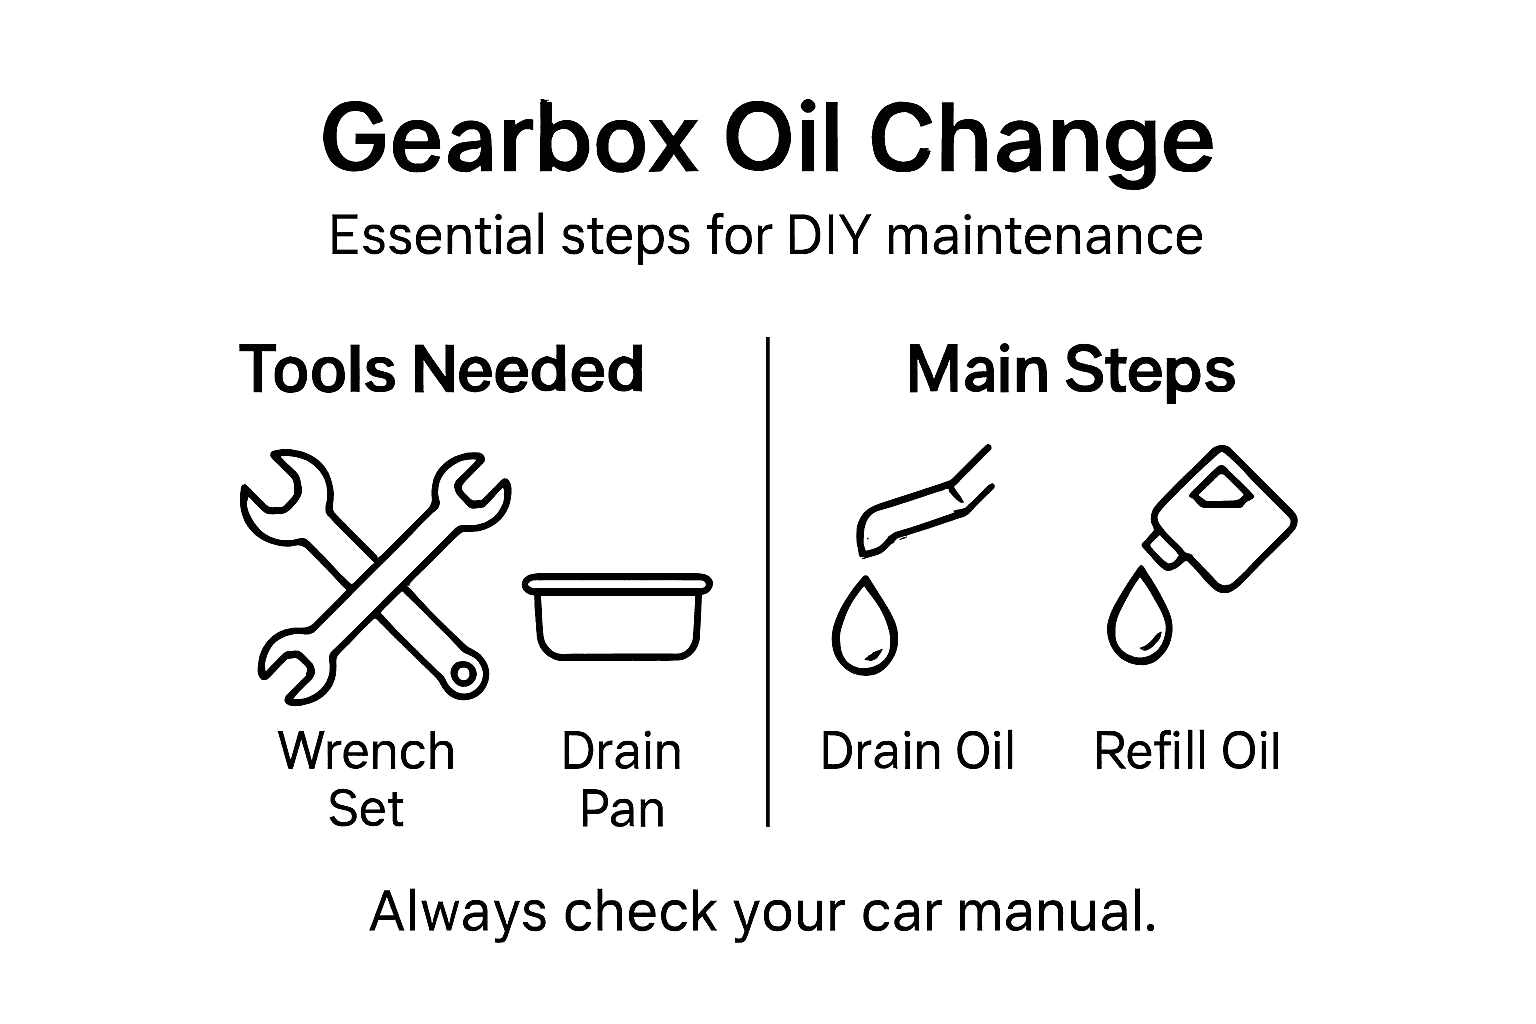
First, you’ll need to collect the essential tools for this task. Automotive maintenance requires specific hand tools including:
- Socket wrench set
- Torque wrench
- Screwdrivers (flathead and Phillips)
- Funnel
- Drain pan
- Jack stands
- Wheel chocks
- Protective gloves
- Safety glasses
Before beginning, ensure your vehicle is parked on a level surface with the parking brake engaged. If you need to elevate the vehicle, use a reliable jack and secure it with jack stands, placing wheel chocks behind the rear tyres for additional safety.
Proper preparation prevents potential accidents and ensures a clean, professional oil change procedure.
Carefully inspect your workspace and verify you have all necessary tools within reach. A well-organised approach will make the gearbox oil change process smoother and more efficient.

Expert tip: Always consult your vehicle’s specific manual for exact tool requirements and recommended oil specifications.
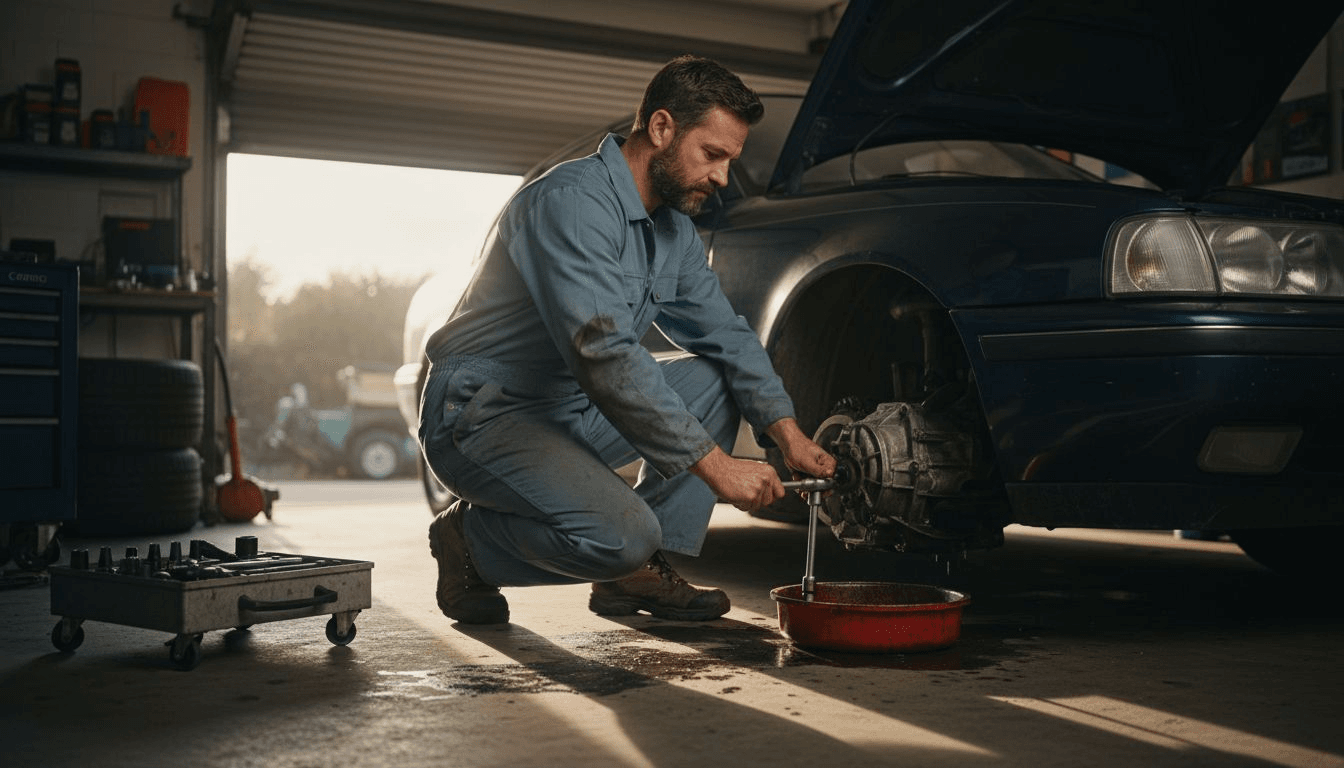
Step 2: Drain existing gearbox oil safely
Draining the existing gearbox oil is a critical step in maintaining your vehicle’s transmission system. This process requires precision, careful preparation, and an understanding of your specific vehicle’s configuration.
Draining gearbox oil involves precise mechanical steps to ensure a clean and efficient oil change. Follow these key guidelines:
- Position the vehicle on a completely level surface
- Engage the parking brake
- Allow the gearbox to cool down for at least 30 minutes
- Place a large drain pan underneath the gearbox drain plug
Locate the drain plug, which is typically situated at the bottom of the gearbox. You’ll need specific tools depending on your vehicle’s make and model:
- Allen key
- Socket wrench
- Appropriate sized spanner
- Protective gloves
- Safety glasses
Caution: Transmission fluid can be extremely hot, so always allow sufficient cooling time before beginning the drainage process.
Carefully remove the drain plug, allowing the old oil to flow completely into the drain pan. Be patient and ensure you capture all the old fluid. Inspect the drain plug and replace any damaged sealing washers to prevent potential leaks.
Expert tip: Clean the drain plug and surrounding area thoroughly before reinstallation to prevent potential contamination.
Step 3: Replace the gearbox oil filter if applicable
Replacing the gearbox oil filter is a crucial maintenance step that helps ensure your vehicle’s transmission continues to operate smoothly and efficiently. Not all gearboxes require a separate filter replacement, so it’s essential to consult your vehicle’s specific service manual.
Changing the transmission oil filter requires precise techniques to maintain optimal gearbox performance. The process typically involves several key steps:
- Locate the transmission filter housing
- Prepare clean workspace and tools
- Remove transmission pan carefully
- Extract the old filter
- Clean filter mounting surface
- Install new manufacturer-recommended filter
Essential tools for this task include:
- Socket set
- Torque wrench
- New transmission filter
- Replacement gasket
- Clean rags
- Protective gloves
- Safety glasses
Important: Always use a filter specifically designed for your vehicle’s transmission model to ensure proper fit and performance.
When installing the new filter, apply a thin layer of fresh transmission fluid to the O-rings to ensure a proper seal. Carefully align the filter and ensure it sits correctly in the housing. Tighten mounting bolts evenly in a crisscross pattern to the manufacturer’s specified torque settings.
Expert tip: Keep the work area meticulously clean during filter replacement to prevent contamination of the transmission system.
Step 4: Refill gearbox with correct oil type
Refilling your vehicle’s gearbox with the correct oil type is a precision task that directly impacts your transmission’s long-term performance and reliability. Understanding the specific requirements of your vehicle’s transmission is crucial for maintaining optimal mechanical function.
Choosing the correct gearbox oil prevents mechanical wear by ensuring proper lubrication and protection. The process demands careful attention to several key details:
- Verify manufacturer’s recommended oil specification
- Check required oil volume
- Select appropriate oil viscosity
- Use recommended API classification
- Prepare clean funnel and measuring tools
Essential considerations for gearbox oil selection include:
- Fully synthetic transmission fluid
- Correct viscosity grade
- Matching manufacturer specifications
- API GL-4 or GL-5 classification
- Temperature performance range
- Vehicle-specific additive requirements
Caution: Using incorrect transmission fluid can cause significant mechanical damage and void warranty coverage.
When refilling, use a clean funnel and pour slowly to prevent air bubbles. Fill to the recommended level, typically indicated by the fluid seeping slightly from the fill hole. For automatic transmissions, you might need to run the engine briefly at idle to ensure proper fluid distribution.
Expert tip: Always keep the original oil specification documentation for future reference and accurate replacement.
Here’s a summary comparing manual and automatic gearbox oil change processes:
| Aspect | Manual Gearbox | Automatic Gearbox |
|---|---|---|
| Oil Type | GL-4 or GL-5 standard oils | Manufacturer-specific ATF fluids |
| Filter Replacement | Rarely required | Often mandatory |
| Oil Filling Method | Fill through side/fill hole | Fill via dipstick/fill port |
| Test Procedure | Check gear shift engagement | Run engine, verify shifting |
Step 5: Inspect for leaks and test gearbox operation
The final stage of your gearbox oil change involves a comprehensive inspection to ensure everything has been completed correctly and the transmission is functioning smoothly. This critical evaluation helps identify any potential issues before they develop into more serious mechanical problems.
Gearbox testing requires systematic operational checks to verify proper functionality and detect any emerging concerns. Your inspection should encompass several key assessment stages:
- Visual leak inspection
- Plug and seal examination
- Initial test drive
- Gear shift performance evaluation
- Final fluid level verification
Key inspection areas include:
Use this table for a quick reference to common gearbox inspection areas and potential issues:
| Inspection Area | What to Look For | Indicative Issue |
|---|---|---|
| Mounting points | Signs of movement | Possible loose bolts |
| Drain plug seals | Drips or seepage | Improper plug installation |
| Transmission fluid colour | Burnt or milky appearance | Gearbox wear or contamination |
| Around gearbox perimeter | Fluid accumulation | Damaged gasket or seal |
- Transmission mounting points
- Drain plug seals
- Fill hole gasket
- Around gearbox perimeter
- Underneath vehicle surface
- Transmission fluid colour
Warning: Even minor leaks can indicate significant underlying transmission issues that require immediate professional attention.
During your test drive, pay close attention to gear shifting smoothness, listening for unusual noises or detecting unexpected vibrations. Ensure each gear engages cleanly without hesitation or grinding sounds. Check that the clutch operates responsively and that gear transitions feel consistent and fluid.
Expert tip: Conduct your initial test drive in a safe, low-traffic area to thoroughly assess gearbox performance without additional driving stress.
Ensure Your Gearbox Oil Change Is Done Right the First Time
Changing your car’s gearbox oil involves detailed steps like draining used oil, replacing filters, and selecting the correct oil type to prevent costly damage. The risks of improper preparation, using wrong fluids, or missing leaks can lead to transmission wear or failure. At Avgarage, we understand these challenges and provide expert gearbox oil change services carried out by certified mechanics with over 10 years of experience. We use only OEM or high-quality parts to keep your vehicle running smoothly and reliably.
Don’t leave your gearbox’s health to chance. Book your professional gearbox oil change now at Avgarage and enjoy peace of mind with our transparent service packages and trusted workmanship. Explore our full range of vehicle maintenance services designed to keep your car performing at its best. Take the next step for your car’s longevity and book easily online today.
Frequently Asked Questions
What tools do I need for a Car Gearbox Oil Change?
You need a socket wrench set, torque wrench, screwdrivers, a funnel, drain pan, jack stands, and more. Gather these tools before starting to ensure a smooth and efficient process.
How do I safely drain the existing gearbox oil?
First, position your vehicle on a level surface and allow the gearbox to cool. Then, place a drain pan underneath the drain plug, remove the plug, and let the old oil flow completely into the pan.
When should I replace the gearbox oil filter?
Replace the gearbox oil filter if your vehicle’s manual recommends it. This step is crucial for maintaining optimal transmission performance and should be done during the oil change process.
How do I refill the gearbox with the correct oil type?
Verify the manufacturer’s recommended oil specification and viscosity. Use a clean funnel to refill the gearbox slowly to the recommended level, ensuring proper lubrication and function.
What should I inspect after changing the gearbox oil?
After changing the oil, visually inspect for leaks around the drain plug and seals, and check the transmission fluid’s colour. Ensure the vehicle shifts smoothly during a test drive, as any unusual sounds may indicate an issue.